
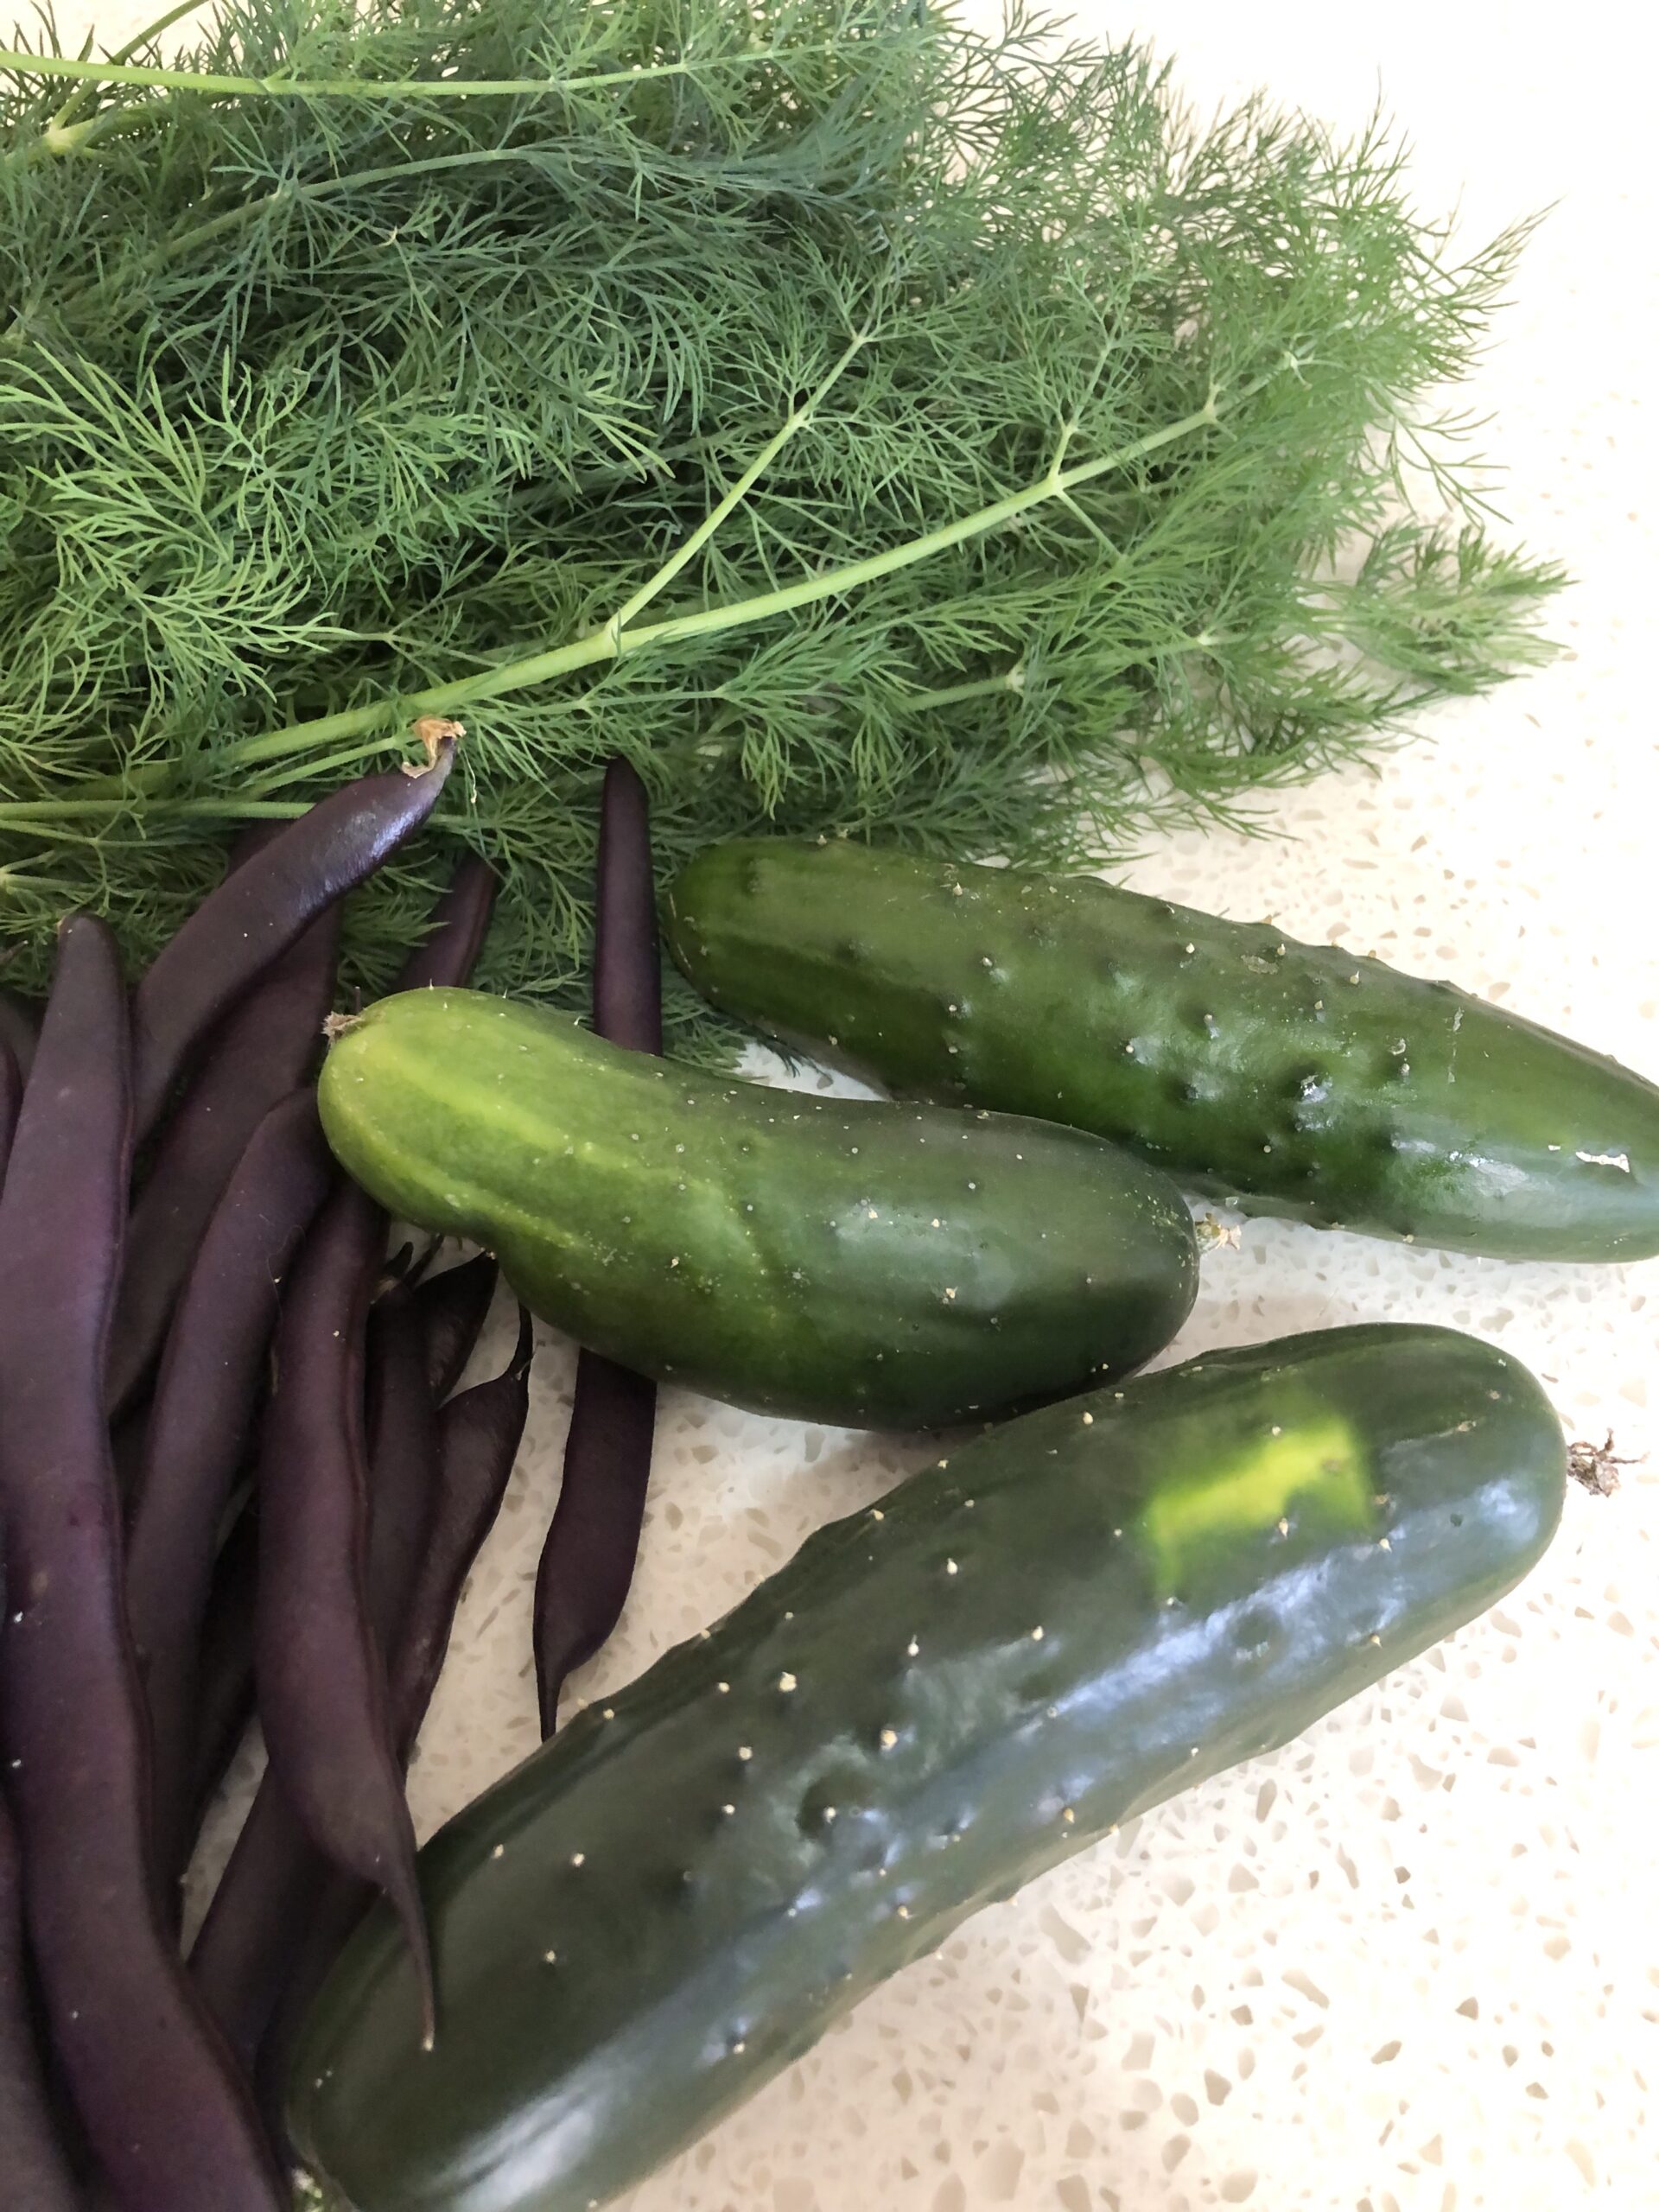
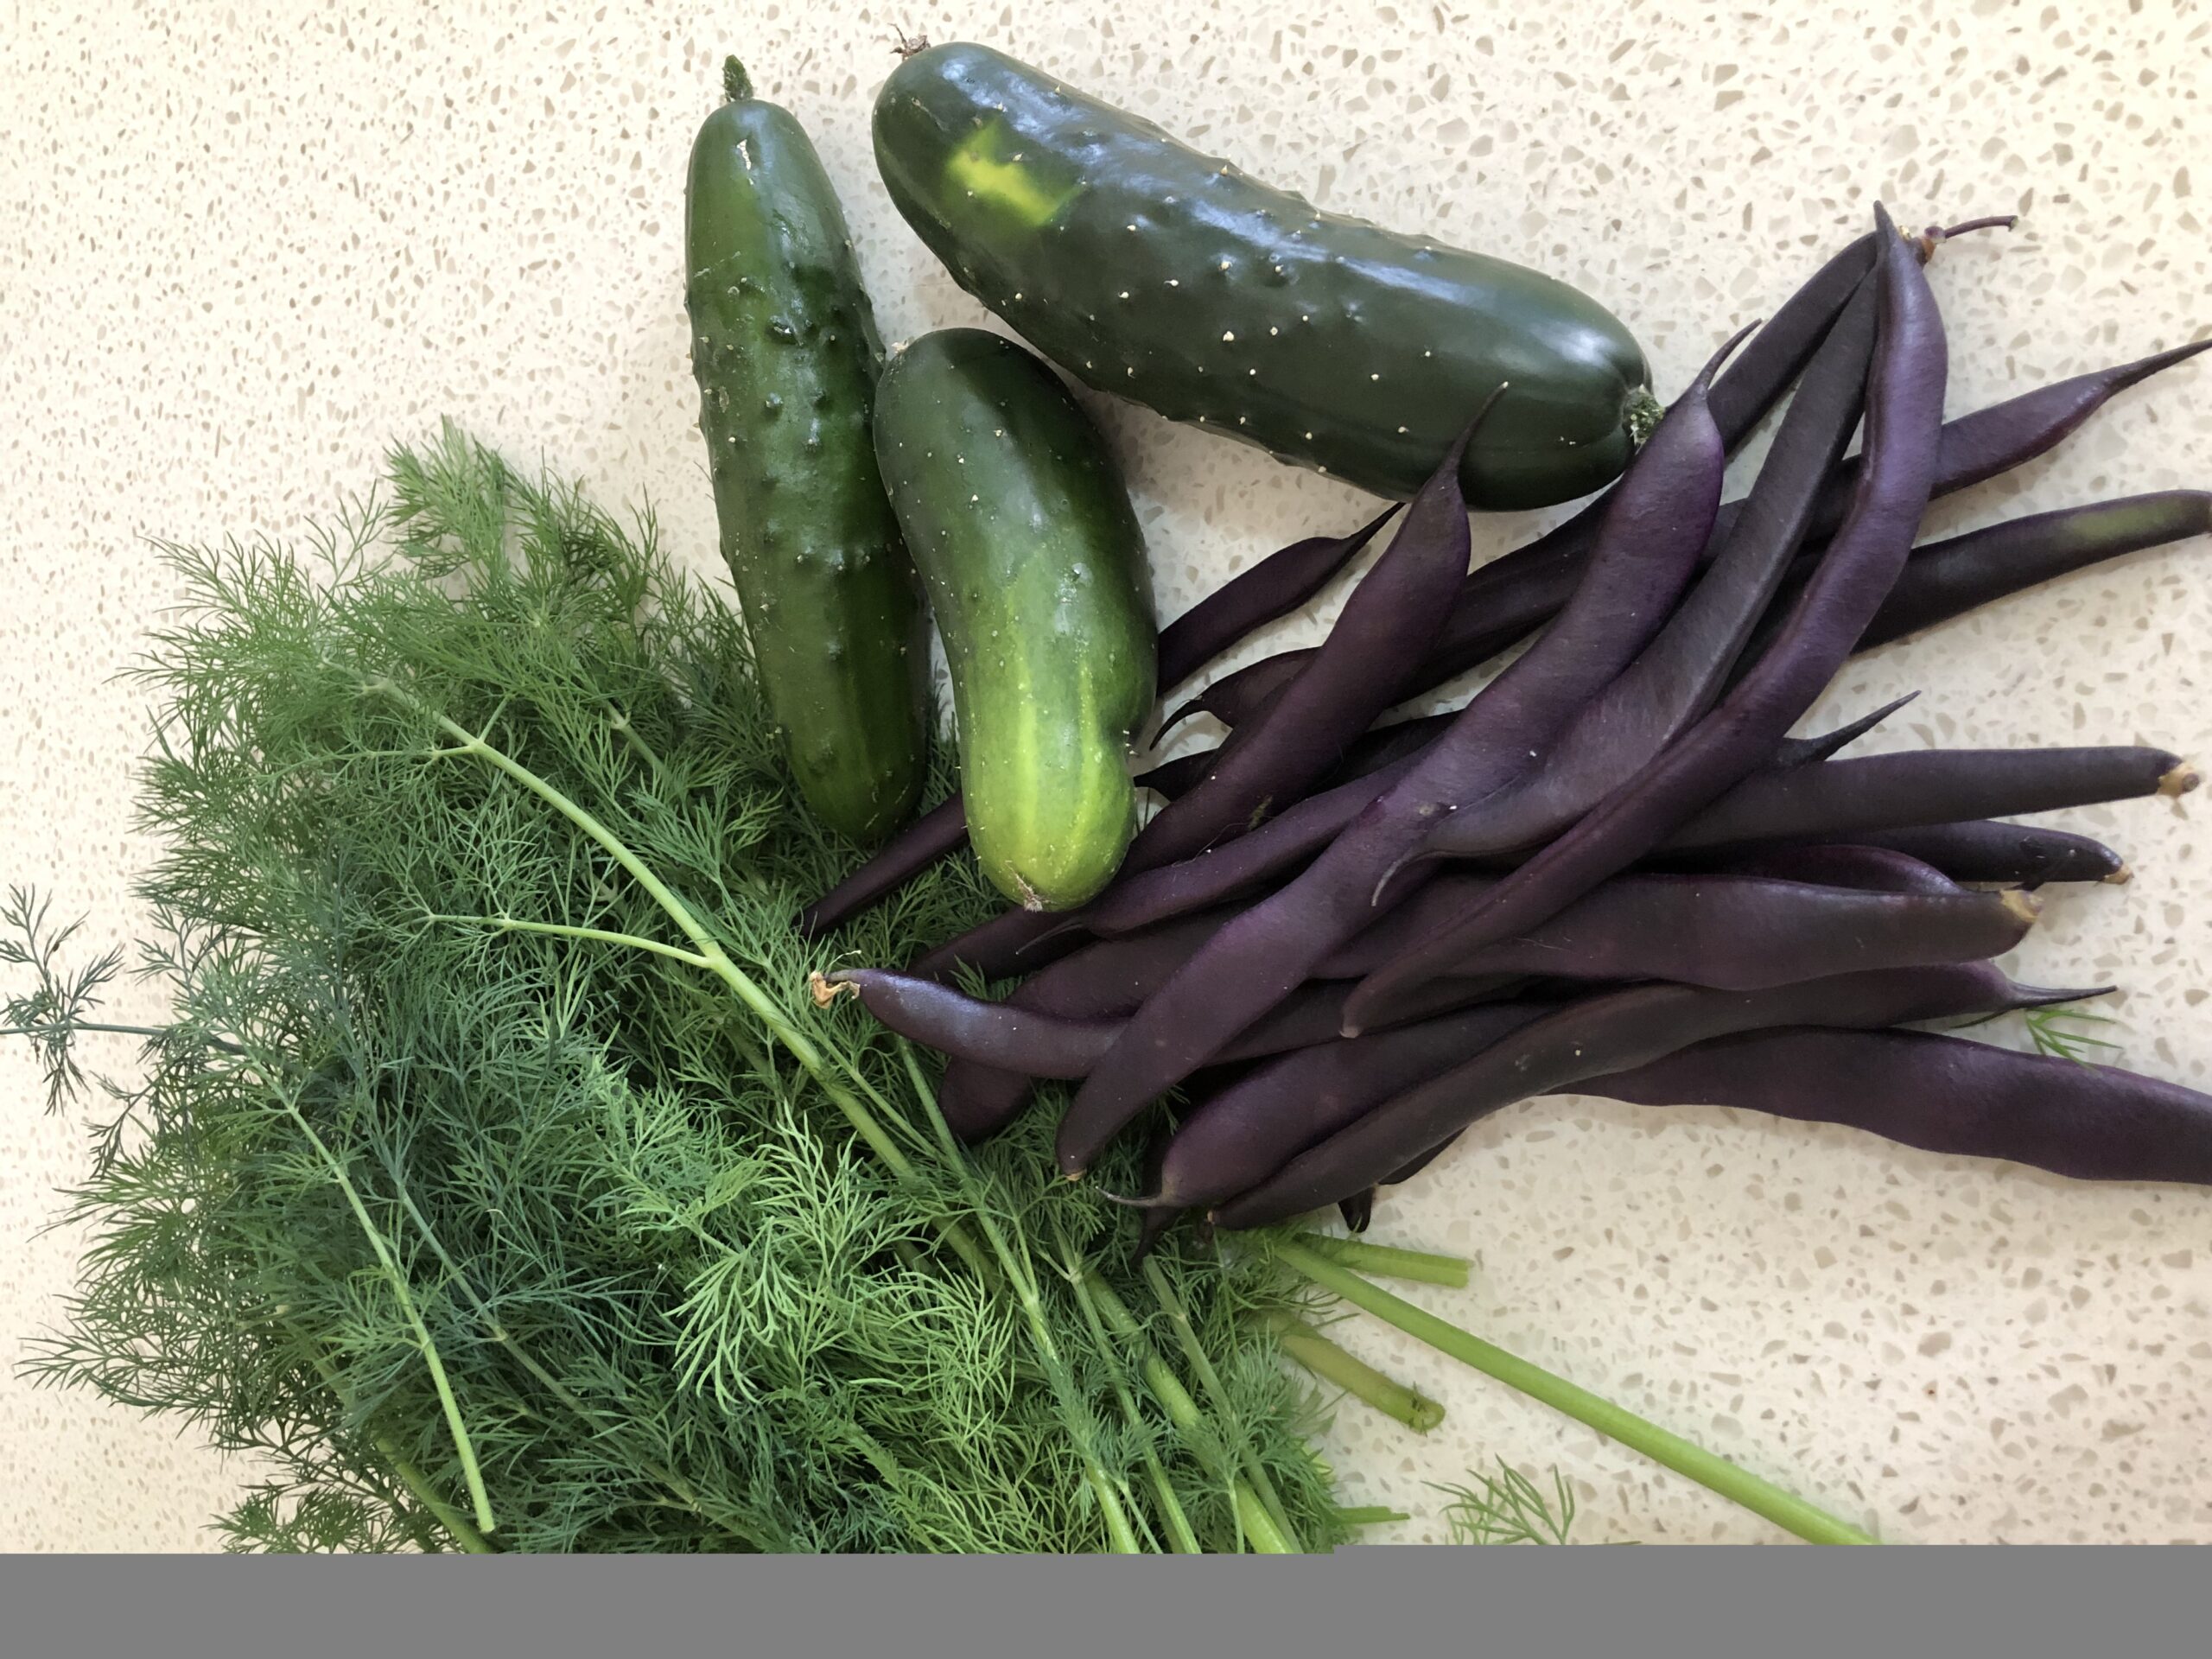
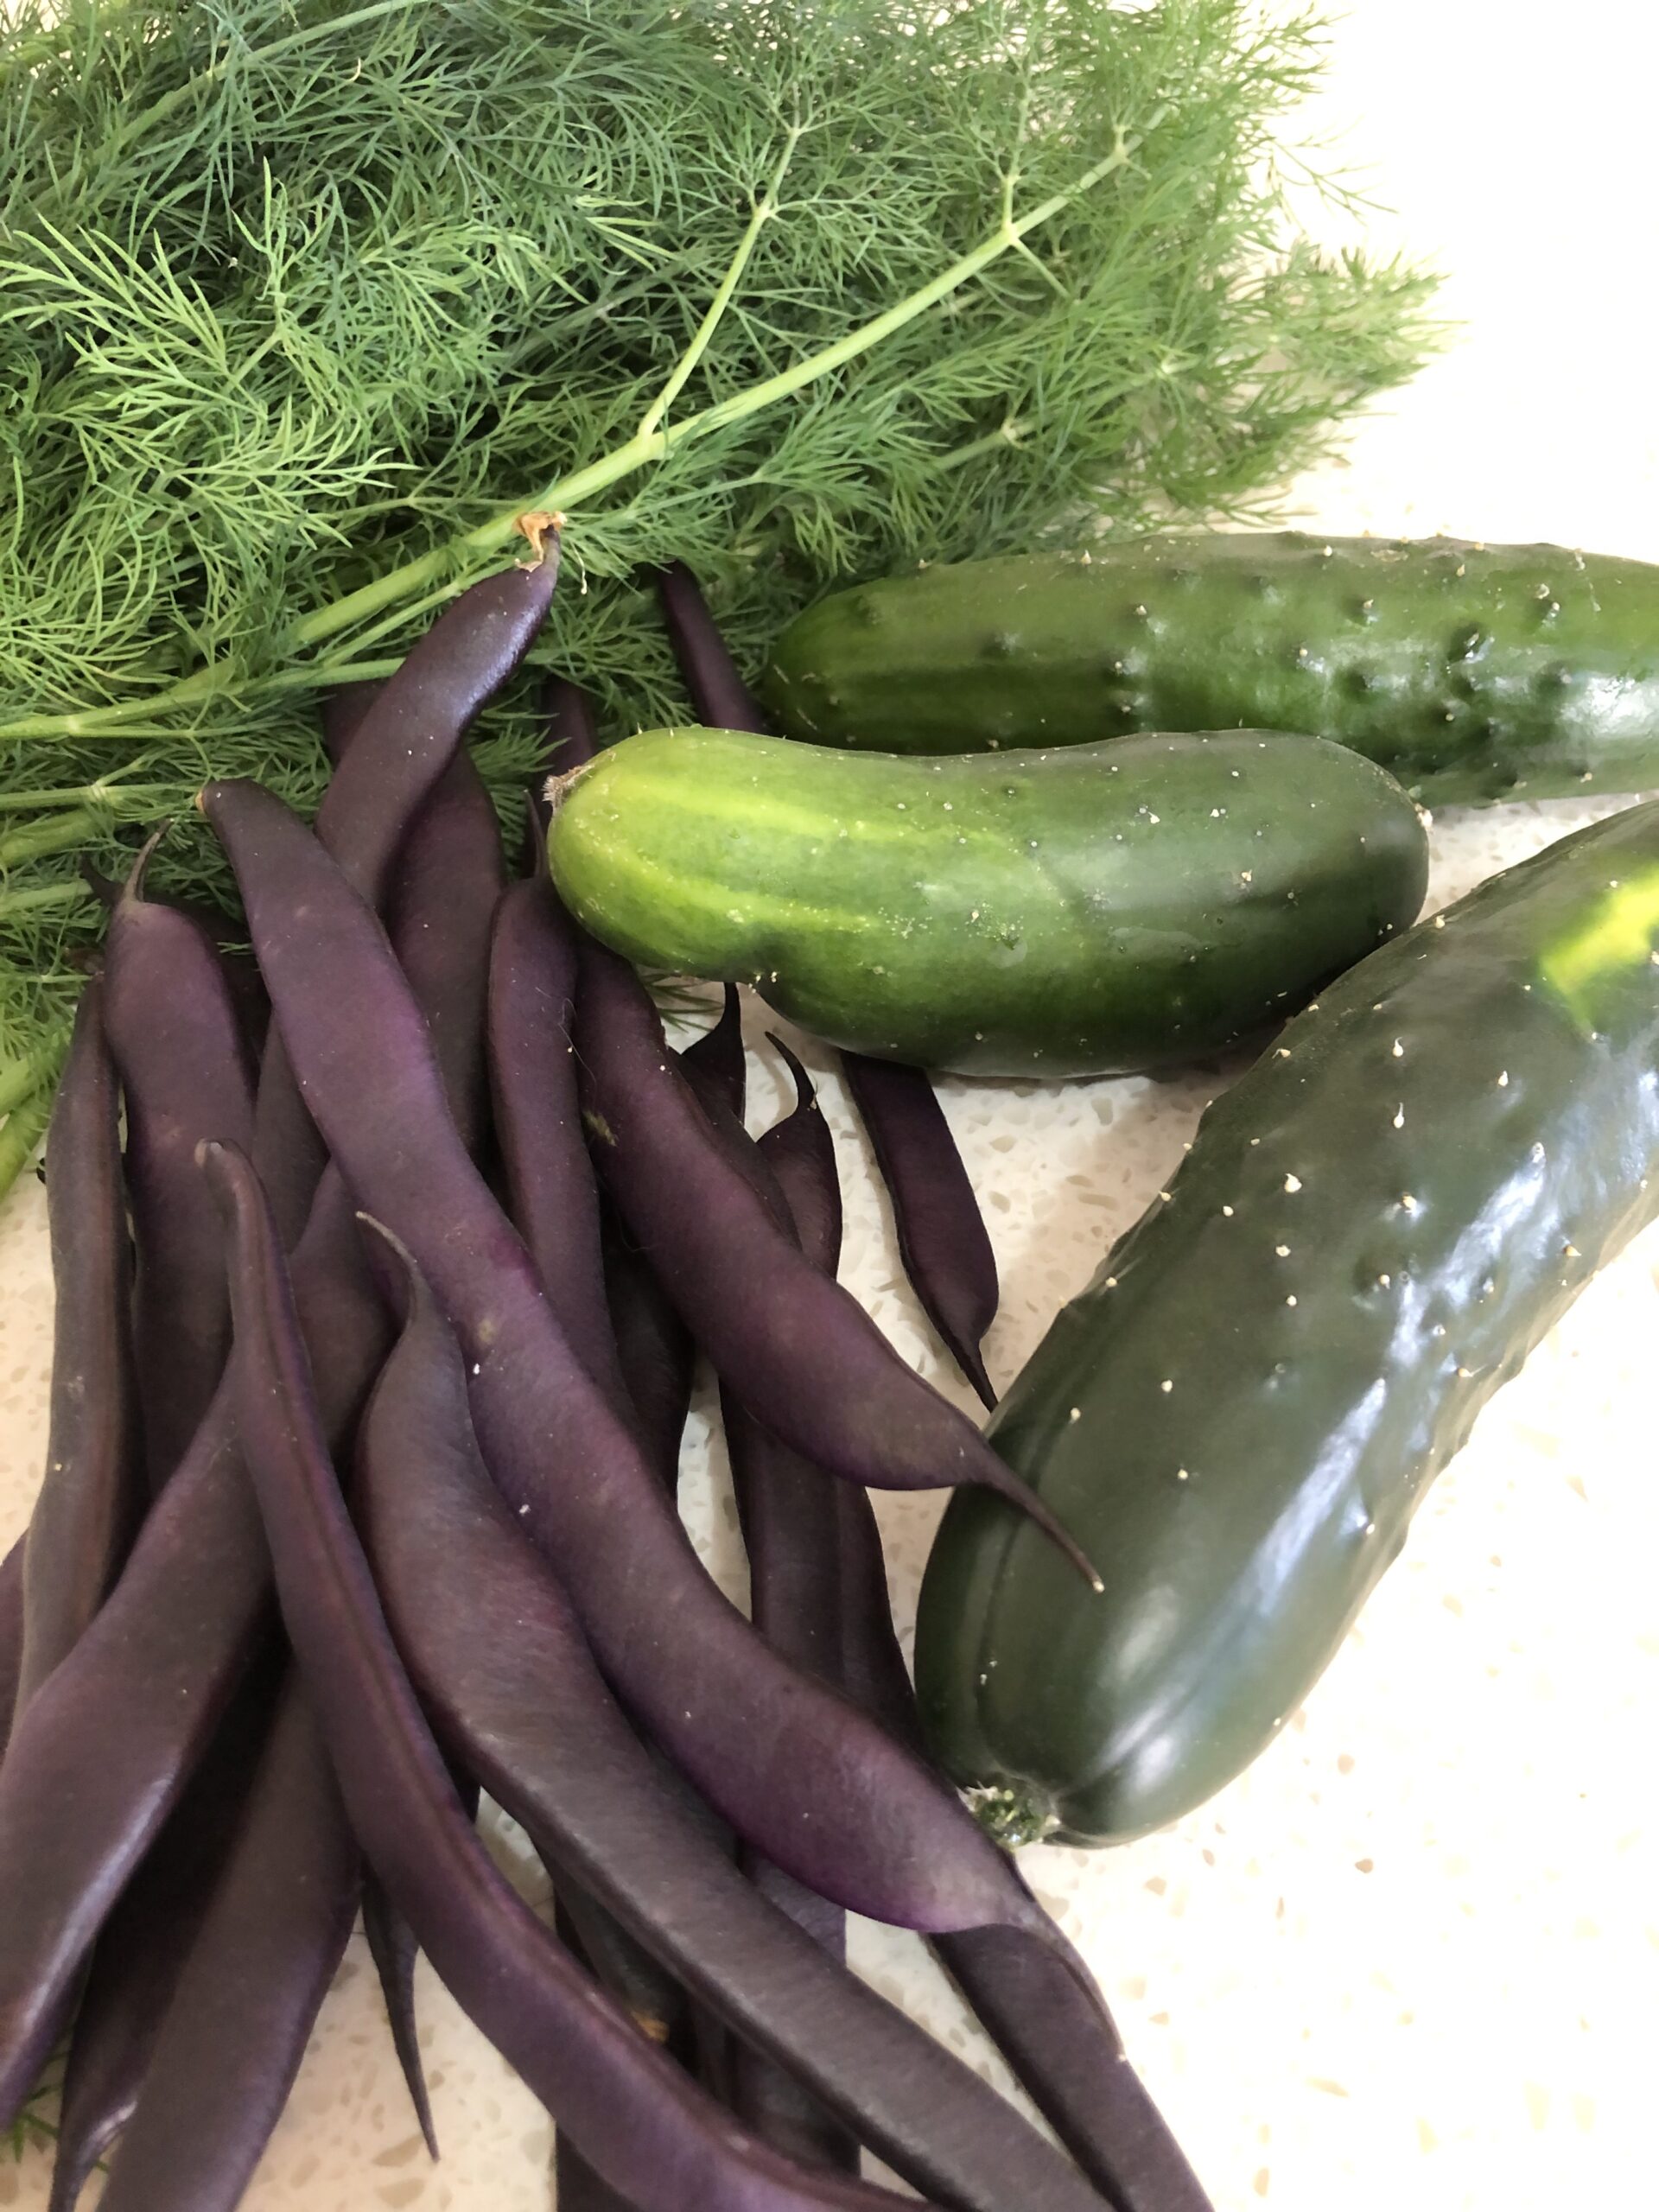
Grow cucumbers and Dill to make sandwich pickles.
If you love pickles, especially those crunchy little slices you find on a good hamburger, then you’ll love my Sweet and Sour pickle recipe. You might call them Bread and Butter pickles, or sandwich pickles but whatever you call them they jazz up a sandwich or burger. Served up with chunks of cheese on a cracker board, their sweet and tangy bite makes a great TV or barbeque snack. My Sweet and Sour pickle recipe uses just the right amount of Pickling spice. They have the smell of fresh Dill and peppery spice to boost the flavor and add a touch of freshness.
These pickles will be the talk of the town or at least at your house, if you make them from Cucumbers and dill you grow yourself at home. Its not as hard as you think and to be honest it’s almost as easy as bunging some seeds in some dirt, splash on some water and sit back while they grow. Well maybe not that easy but it shouldn’t be too much fuss and the rewards are plenty. You’ll also have buckets of fresh cumbers for salads, salsa and more but fresh dill on hand for other yummy recipes.
Dill, also known as Dill- weed, adds a fresh flavor and aroma (almost like aniseed I guess) to Fish dishes, sauces, Chicken dishes or for a flavor burst in my Potato, Egg and bacon salad. That’s my wife’s recipe so I won’t take credit for it. It’s delicious and when she makes it at Christmas it’s a fam Favorite. (I usually miss out because it’s gone quick!)i
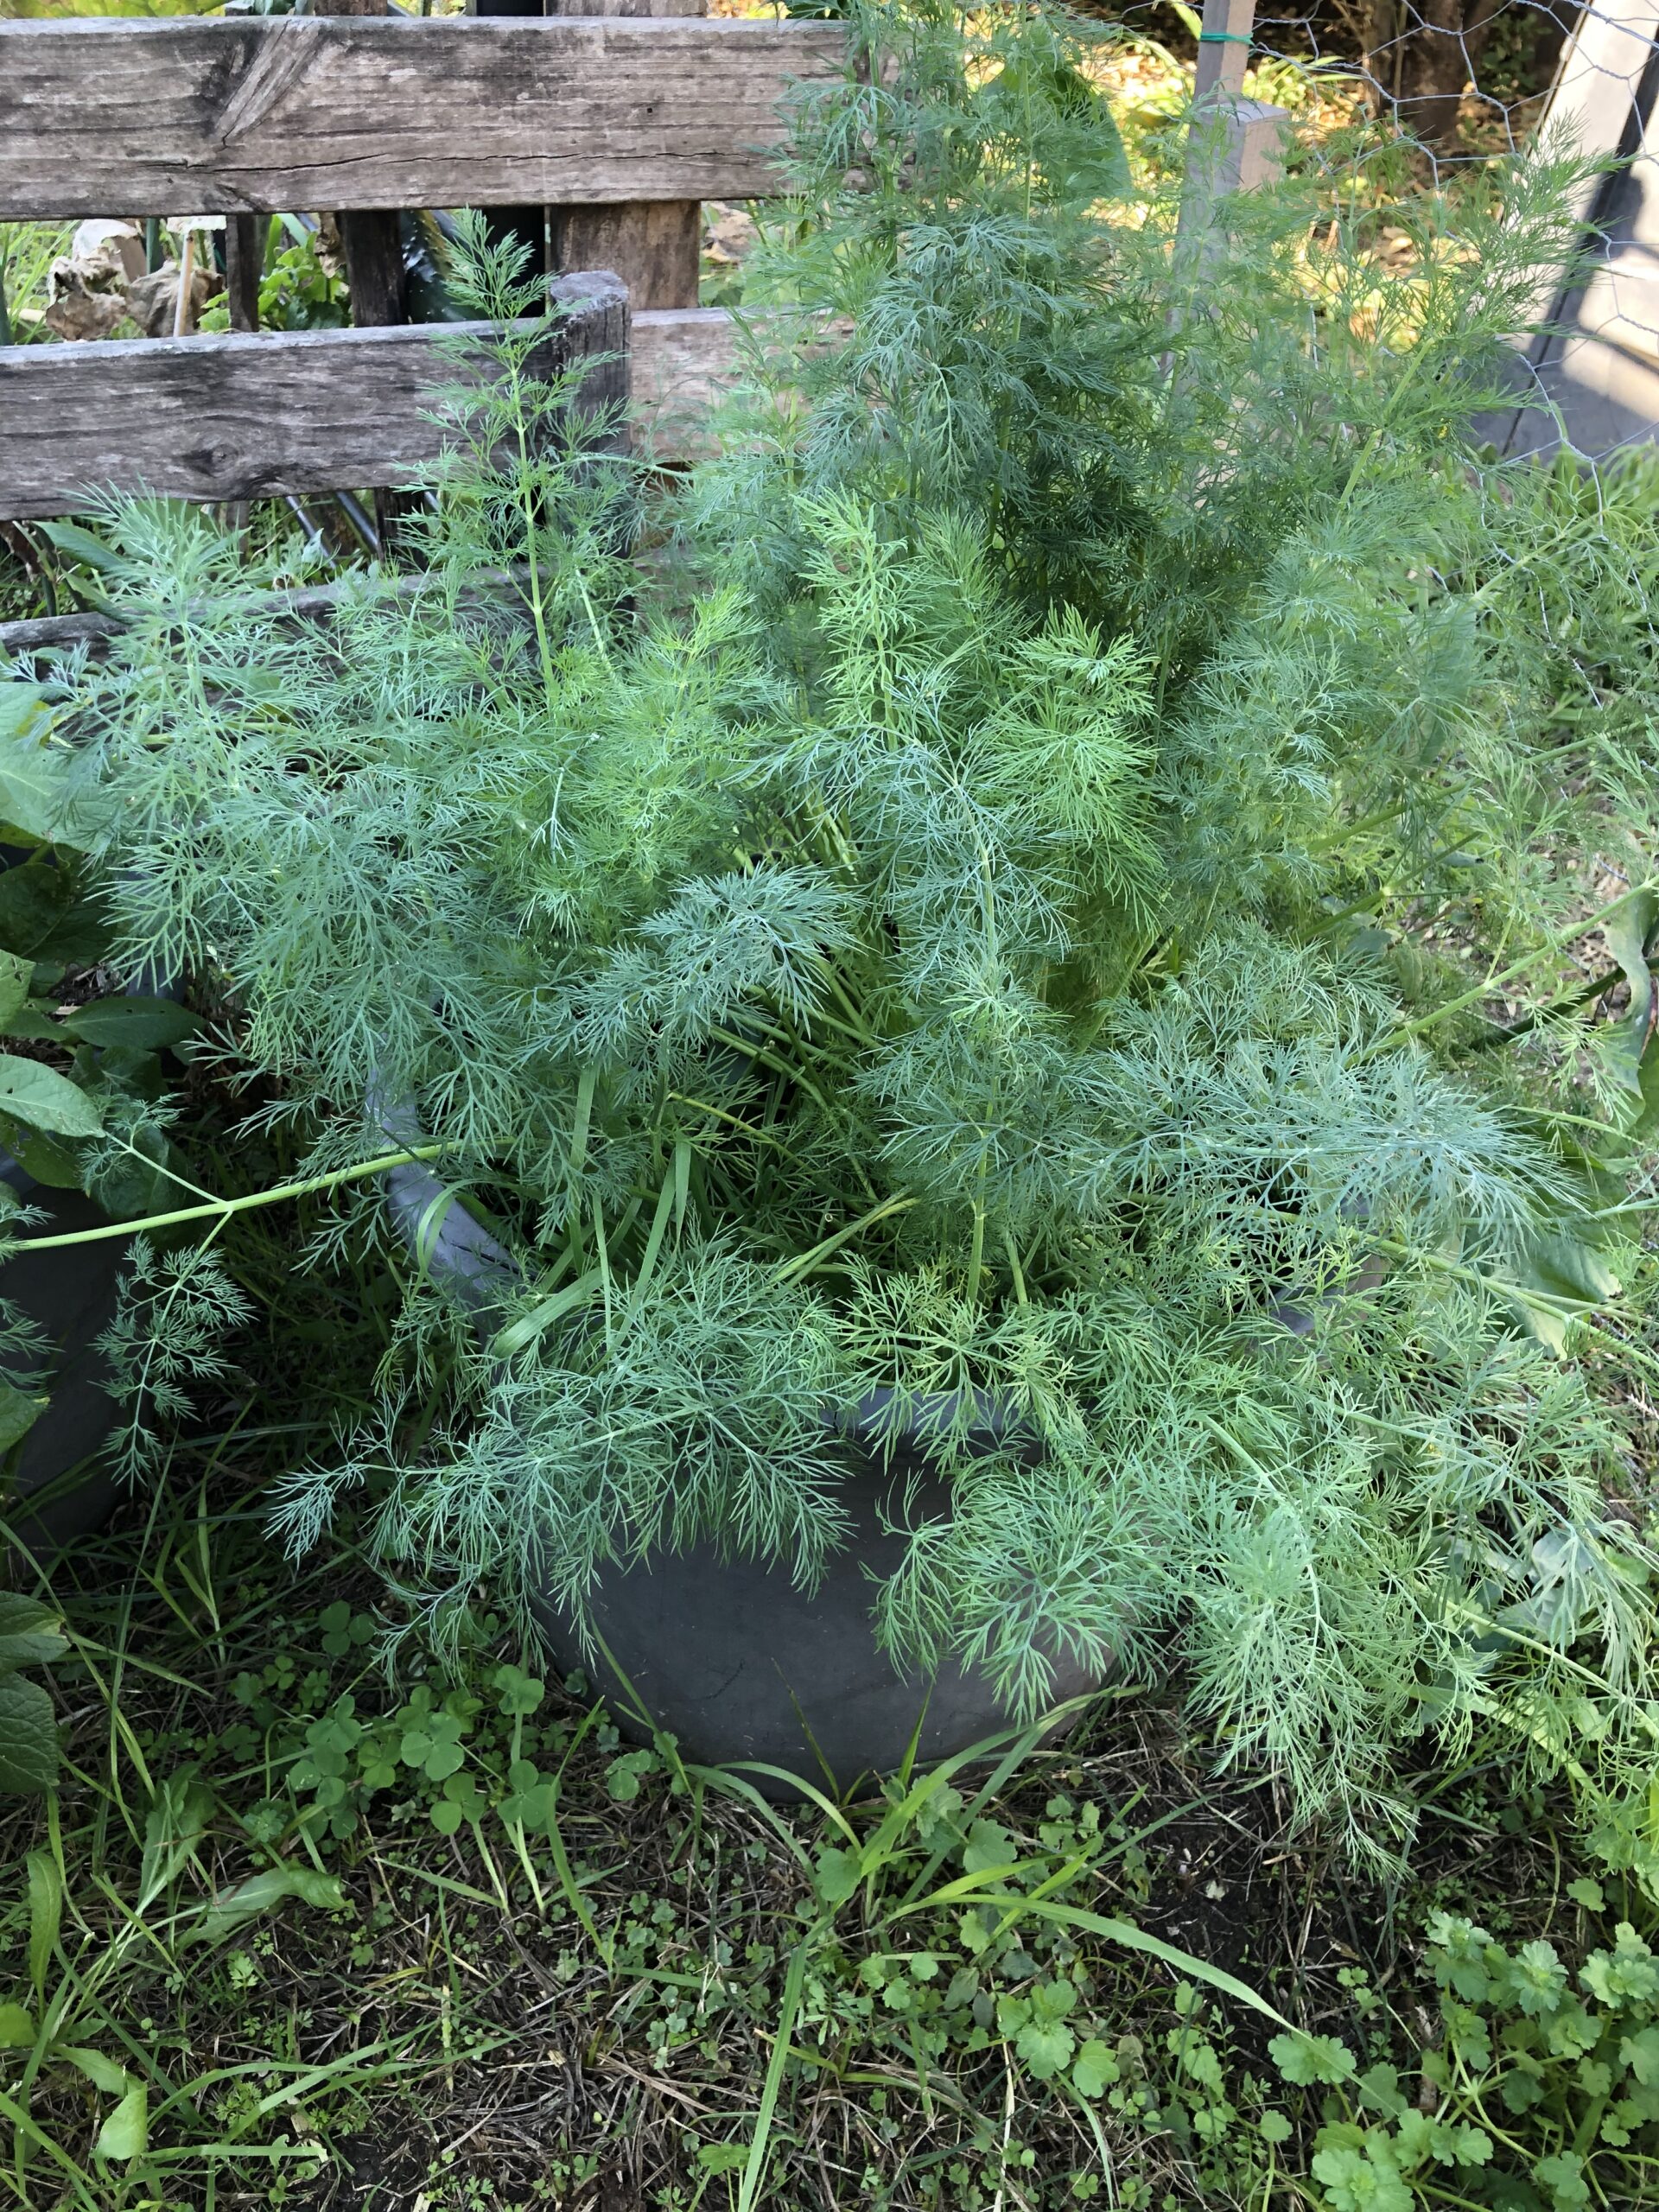
How to grow Dill
Dill is a bushy green annual herb, that grows to around 1\2 to 1 metre tall. It’s best grown in the warm temperate months but can be grown all year round. Best times for planting is Mid Spring to harvest Mid-summer, before it gets too hot.
Equipment
- A packet of Dill seed
- A large pot around 40 cm round x 30-40 cm high.
- Hand trowel
- Watering can or gentle sprinkler tap nozzle and hose
- Bag of quality vegetable garden soil.
Method
Fill the pot with soil to within 5 cm of the pot top. Sprinlke the seed on top and gently scratch it into the surface of the soil. Top the seed with about 1 cm of more soil and gentle firm it down. Gentle water to settle the seed in place and give it another water every day for about 10 days until the seedlings emerge. Water every 2-3 days after the seeds sprout.
Pests and fertilising
Dill has very few pests apart from aphids which can be hosed off and if you wish fertilize with a quality organic liquid fertilizer partway through the growing phase or a slow release fertilizer can be added when you first sow the seed.
Harvesting Dill
Dill should be ready to harvest in about 6-8 weeks when your ready to make your pickles hopefully. If all goes to plan you’ll have a healthy green Dill bush that hasn’t gone to flower/ seed yet and the cucumbers are also ready for harvest. If your picking some for other use simply trim some of the outer leaf tips .
How to grow cucumbers for pickles
Because we’re making sweet and sour pickle slices (like the ones you find on burgers) we need to choose a variety that gives thin long fruit. Varieties like Continental cucumbers or similar long cucumbers are ideal.
Grow them in a pot like dill or a I prefer in a garden bed around 6 feet long so I can grow more plants. To grow in a pot you’ll need another bag of soil and a large pot.
Other equipment you need
- A trellis at least 1 and ½ meters tall
- Bag of gypsum or lime
- Bag of blood and bone or other organic fertilizer like Dynamic lifter or quality garden compost
- Long shovel for digging or pitch fork
- Hand trowel
- Air filter mask
- Garden gloves
Method
Use appropriate safety equipment like Gloves and masks when dealing with chemicals like gypsum and fertilizer as a precaution. Dig up the ground to a depth of 1 foot and then scatter organic fertilizer and a sprinkle of gypsum/lime (following the manufactures instructions) and then dig that into the soil. The same goes if your growing it in a pot but obviously use lesser amounts of gypsum. Gypsum contains calcium which is important for cell structure and will help stop “Blossom end rot” in your fruit and improve plant health.
Firmly set the trellis in the ground behind where you’re planting the seeds or in the back of the pot. Ensure it has strong stakes supporting it, so it won’t fall over with the weight of the plants and cucumbers.
Hose the soil well to dilute the gypsum and lime and let the ground rest for a day or two before planting the seeds.
After a couple of days plant the seeds in groups of 2-3 about 20-30 cm apart or close in the pot. Press them down to about 2cm deep than backfill with soil.
Water the seeds well and again every second day until the seedlings emerge. Thin the plants out to 1 every 30 cm.
Now the plants have started to grow place a short stake, stick or twig in front of the cucumber seedling and lean it back a little towards the trellis. This is to give it something to grow up on and will help train it to grow towards the trellis.
Fertilize once or twice after seedlings have started to grow well (around 1ft high).
Pests and diseases
I have had relatively few pests or other problems when growing cucumbers. Leaf eating bugs or grubs can be sprayed with organic chilli/garden spray as a deterrent. Fruit fly can be controlled with fruit fly traps available at your local nursery, and disposing of affected fruit.
Powdery mildew may occur, but this can be reduced by not wetting the leaves around sunset (the mould will grow in the moist environment) or spray with white oil or watery milk if it does appear.
Harvesting cucumber
Generally, cucumbers mature around 7 to 10 weeks depending on the variety. Pick them when they are of reasonable size but still fully green. If they start to yellow they will have mature seeds and not great as a pickle. Also be sure to keep picking them to keep the plant fruiting as long as possible.
Cucumbers have small spikes on them which can be rubbed off using a clean cloth and then give them a good rinse. If you have sensitive skin maybe wear a long-covered shirt as the leaves and vine also have spikes which can make you itchy. Give them a good old soak and rinse in the sink then store in the crisper section of your fridge until you’re ready to make pickles.
How to make Sweet and Sour Pickles
Now gather all your ingredients, you’ll probably need to shop if this is your first time making pickles.
Ingredients or shopping list
- 10 – 12 medium size pickling jars and lids (Kmart has them cheap)
- Labels
- 10-12 medium size cucumbers
- 2-3 large onions
- 3 cups of sugar ( I prefer raw sugar but white sugar is fine)
- 4 tablespoons of salt (reduce this if you need too)
- 4 tablespoons of pickling spice
- 4 cups of apple cider vinegar
- 2 cups of white vinegar
- 2 cups of water
- 12- 15 sprigs of dill
- Extra ½ cup of sugar
- Extra 2 tablespoons of salt
A note on sugar
If you prefer low or no sugar pickles you could probably use some honey, though I have not tried that). My preference is the pickling water should taste almost good enough to drink, but still too vinegary so you can’t. This gives a nice sweet and sour taste to the pickle.
You can reduce the sugar content if you prefer or even remove it all together for a more pickle/vinegary flavor. The Vinegar mainly with the addition of salt is what cures, preserves and pickles the fruit.
ITS TIME TO MAKE PICKLES
Go pick a good stack of dill sprigs, rinse and dry thoroughly then store in a bag or container in your fridge. If you haven’t already harvest your cucumbers and follow the instructions above, and stow them in the crisper until needed.
First off clear and thoroughly clean your kitchen bench to make sure it’s properly sterile. I like to wipe the bench top with cleaning vinegar and pour a kettle of boiling water all around the sink and dish drainer to get rid of any bacteria and stuff that might infect or spoil our pickles. Use fresh dish cloths too, not the old one you’ve been washing dishes with all year!
Next gather all your equipment, make sure it’s clean and sterile by stacking all your jars and lids in the bottom of a large pot with the ladles, spoons and tongs, knife etc. on top.
Note: sterilize the bowls separately if they don’t fit in the pot by pouring over boiling water, draining and set aside.
Now Pour 1 litre of water in the sterilizing pot and bring to the boil on the stove, then turn to a simmer with the lid on for 15 minutes or so. Let it cool down so it’s not so hot that it will steam burn you and carefully take everything out with some tongs or rubber gloves. Drain everything well then set aside on to a clean tea towel.
Keep the jars and lids turned upside down to help keep them clean and dirt or bug free before canning.
If you prefer a commercial food grade chemical sterilizer product can be used from your favorite canning store.
Equipment
- 10-12 jars and lids
- 1 extra large pot and lid for sterilizing
- 1 medium – large pot for making the vinegar spice pickling solution
- 2 pairs of tongs
- Tablespoon
- Teaspoon
- 2-3 bowls
- Sharp knife
- Cling wrap
- Large container with a lid
- Labels
Method of Making Pickles
First you need to cut of the ends of the cucumbers and discard and cut out any that have over soft or insect damaged skin and flesh. Discard all that and feed it to your chickens or compost. Next slice all the cucumbers into thin round pickle slices from 2mm to 5mm thick depending on how you like them. A quality food processor is great for this if you want nice thin slices and are short on time, however I usually slice mine by hand with a sharp knife.
Next peel the onions, cut in half then slice into 5mm thick slices. They should be nice half circle shapes and they’ll add sweet oniony flavor to your pickles and be a nice pickle bonus for your jar of preserves.
In one of you sterilized bowls put in all your cucumber slices, onion slices and sprinkle over the EXTRA ½ cup and 2 tablespoons of salt. Gives this a good stir with your wooden spoon to mix it all evenly and to coat the cucumbers and onions with the sugar/salt mixture. Cover it with cling wrap and set back in the fridge for half an hour or more while you prepare everything else. This is to allow the sugar/salt mixture to draw extra moisture from the cucumbers to help preserve them and make a crisper pickle. It will also start adding flavour.
Meanwhile in the large pickling pot add all the other ingredients (except the dill) ie sugar, salt, pickling spice, apple cider and white vinegar. If you want extra flavour finely dice a sprig or two of the dill and add that to the pickling solution.
Bring slowly to the boil while stirring to get the sugar and salt to dissolve. Once its boiling and sugar is dissolved, turn the heat right down and simmer it for 5 minutes. Next put the lid on and take it off the heat to cool slightly for 5-10 minutes.
Get all your jars and lids ready and put the jars over on the sterilized dish strainer part of the sink (it’s the best place to be spilling hot liquid right?)
Take your cucumbers and onion slices and strain the excess liquid out of them.
Add a sprig of dill into each jar then using your tongs take stacks of cucumber slices and stuff them in layers in your jars. Be sure to put in a few of those yummy onion slices in each jar as well.
Next find a safe spot close to your jars like either the actual sink or onto a tea towel or heat proof board for the pot of pickling liquid. Chuck your protective gloves if you have them and carefully bring the hot pickling liquid over.
Stir the pickling liquid with the ladle to make sugar you pick up some of the spices and fill each jar with pickling juice. Give them each a little wiggle to expel any trapped air, top up with more liquid and seal the lids. If you find you’re a bit short on liquid, simply heat up a saucepan with equal parts pf water and vinegar (boiled then cooled slightly) and top up the jars, making sure all pickles are covered.
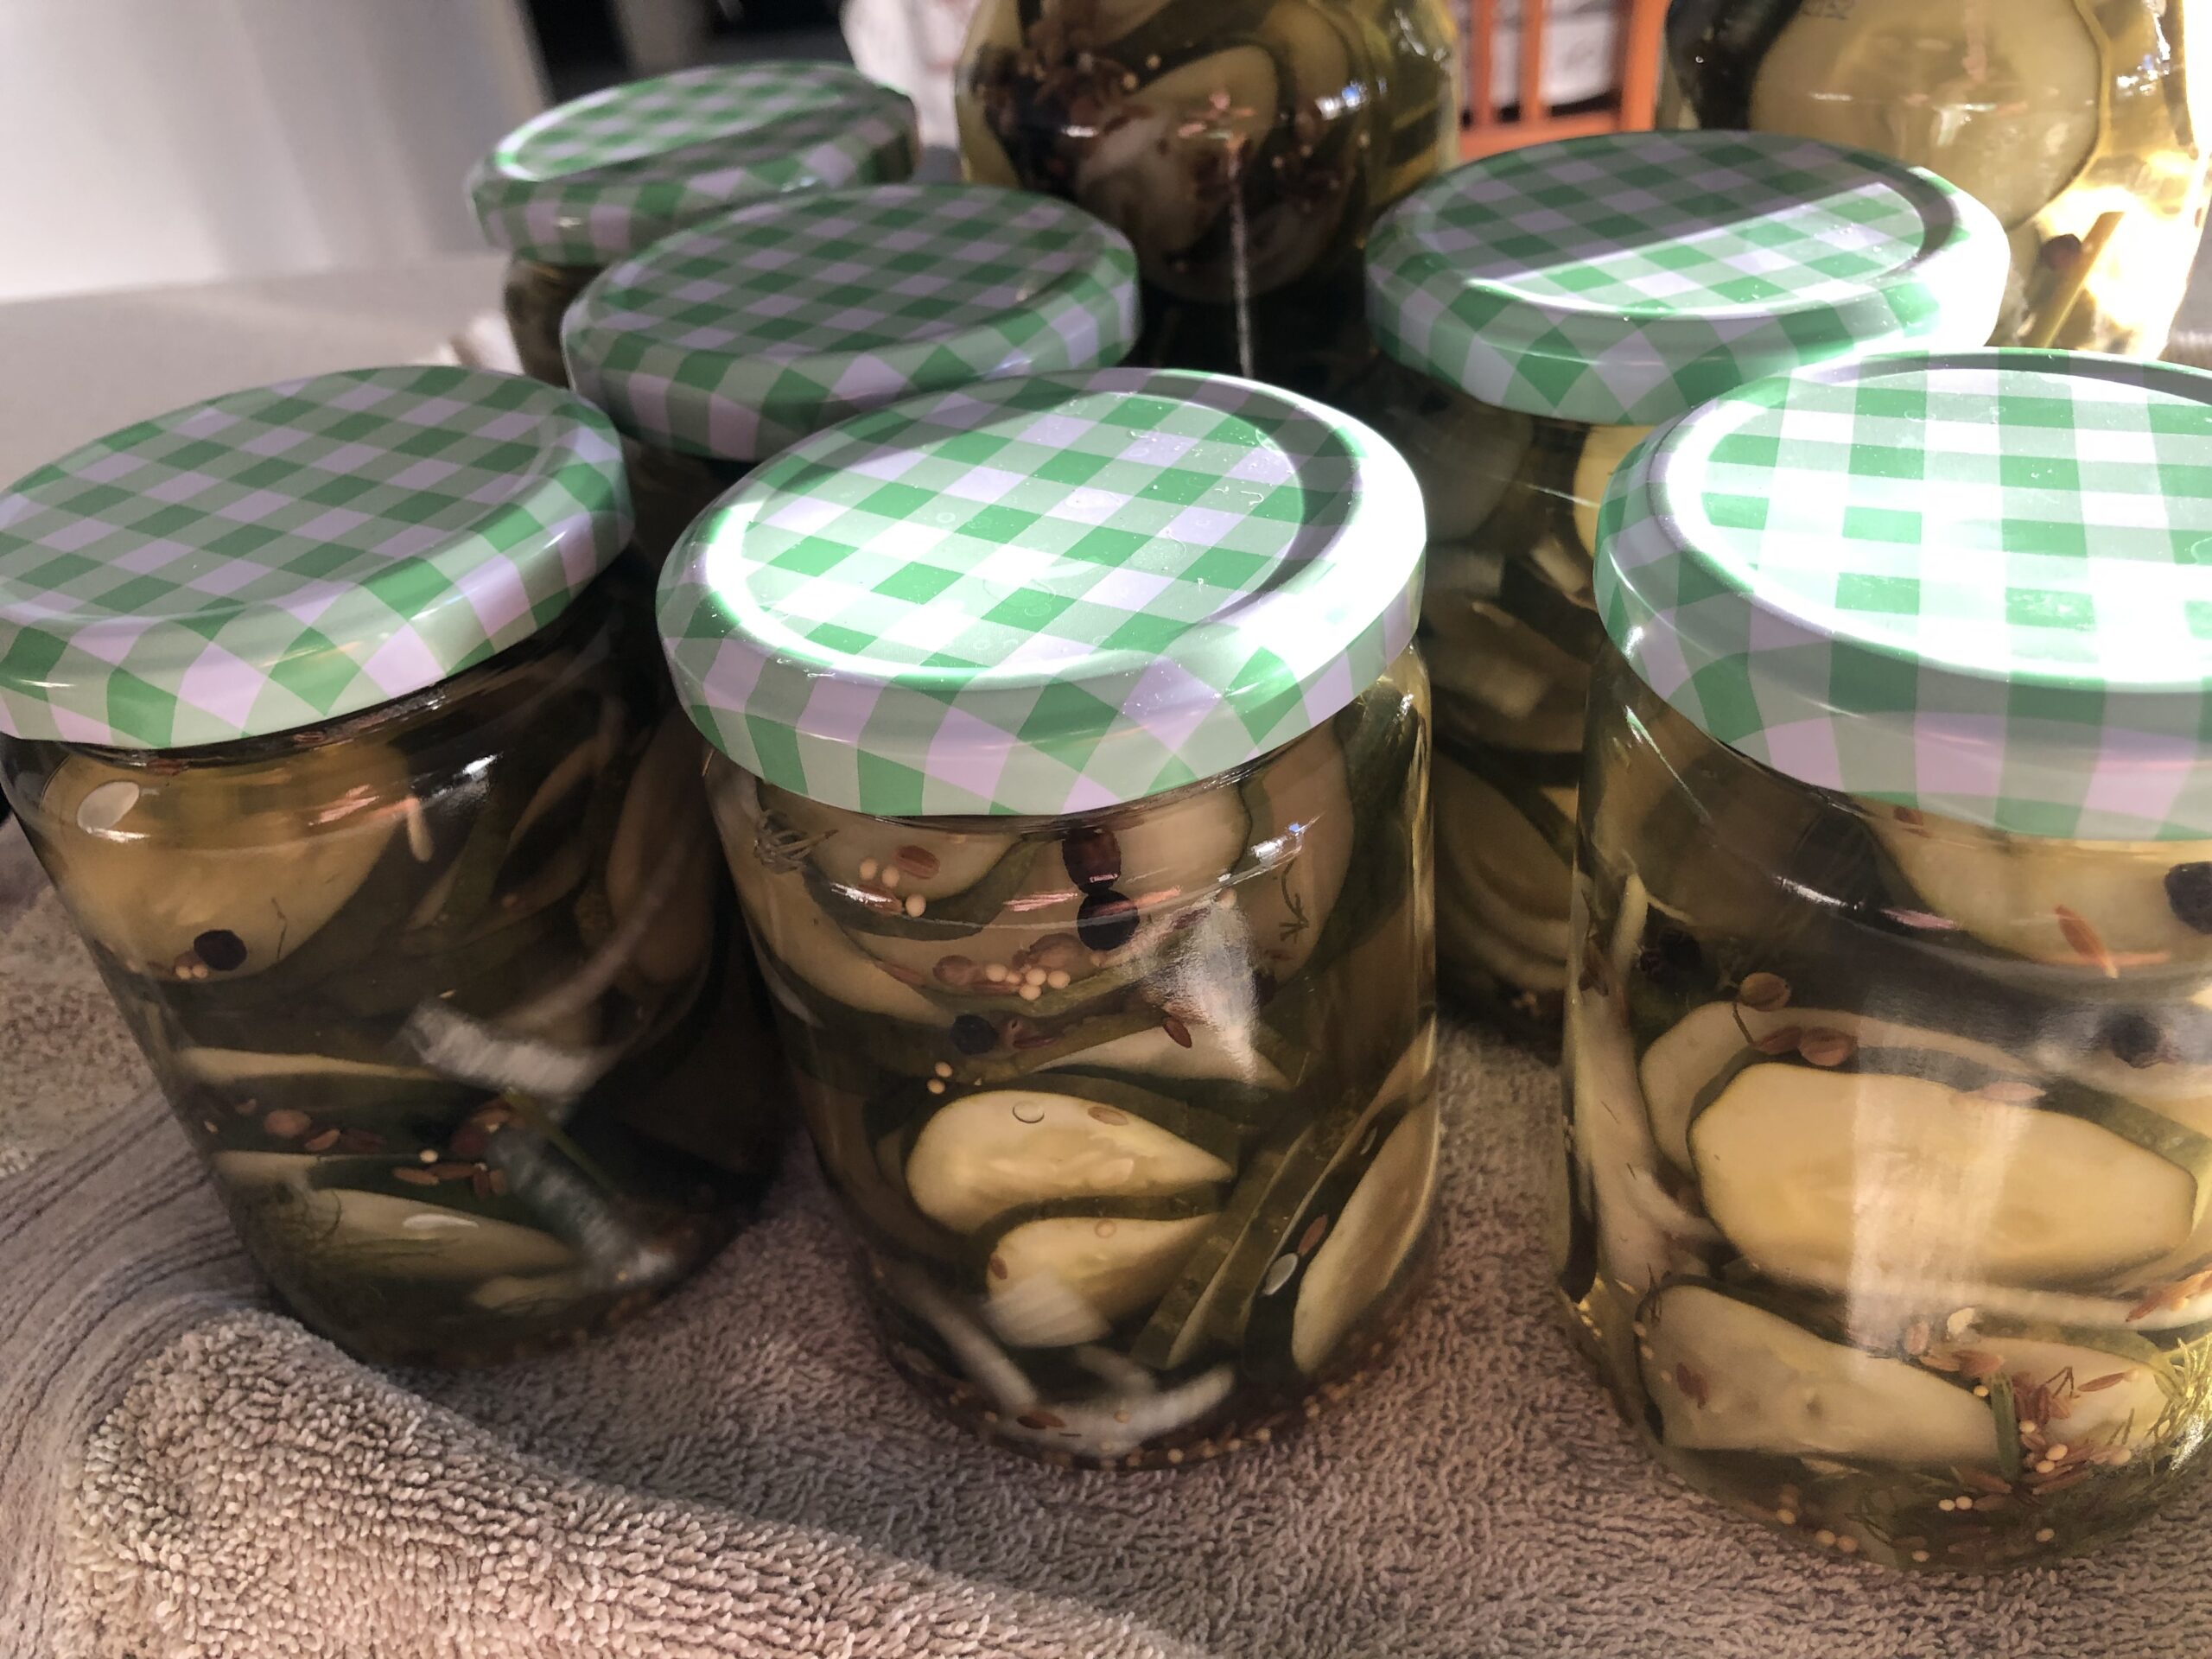
Check the lids are tight then turn them all upside down on a clean tea towel on a level surface or even on a tray in the cold oven out of the road. As the jars and liquid cool this should help create a vacuum and seal the lids nicely. When the jars have cooled give them a clean down with a damp cloth and dry them well ready for a label.
There’s some great printable label designs out there for you to print your own with a nice jazzy design that screams “Hey look what I made!” Or you can buy some boring old plain white labels at the local cheap shop.
Write your date of pickling on the label and whatever else takes your fancy. Call them Sweet and sour pickles, bread and butter pickles, cucumber and onion pickles, Dill pickles or slices of pickled Heavan! Call them whatever you want, after all you made them right?
Store them in a cool, dark cupboard for 6 months to 1 year. You’ll want to try them earlier then the normal waiting time of one week so make sure to put one of them in the fridge.
Enjoy.
