
The easy way to grow beans at home.
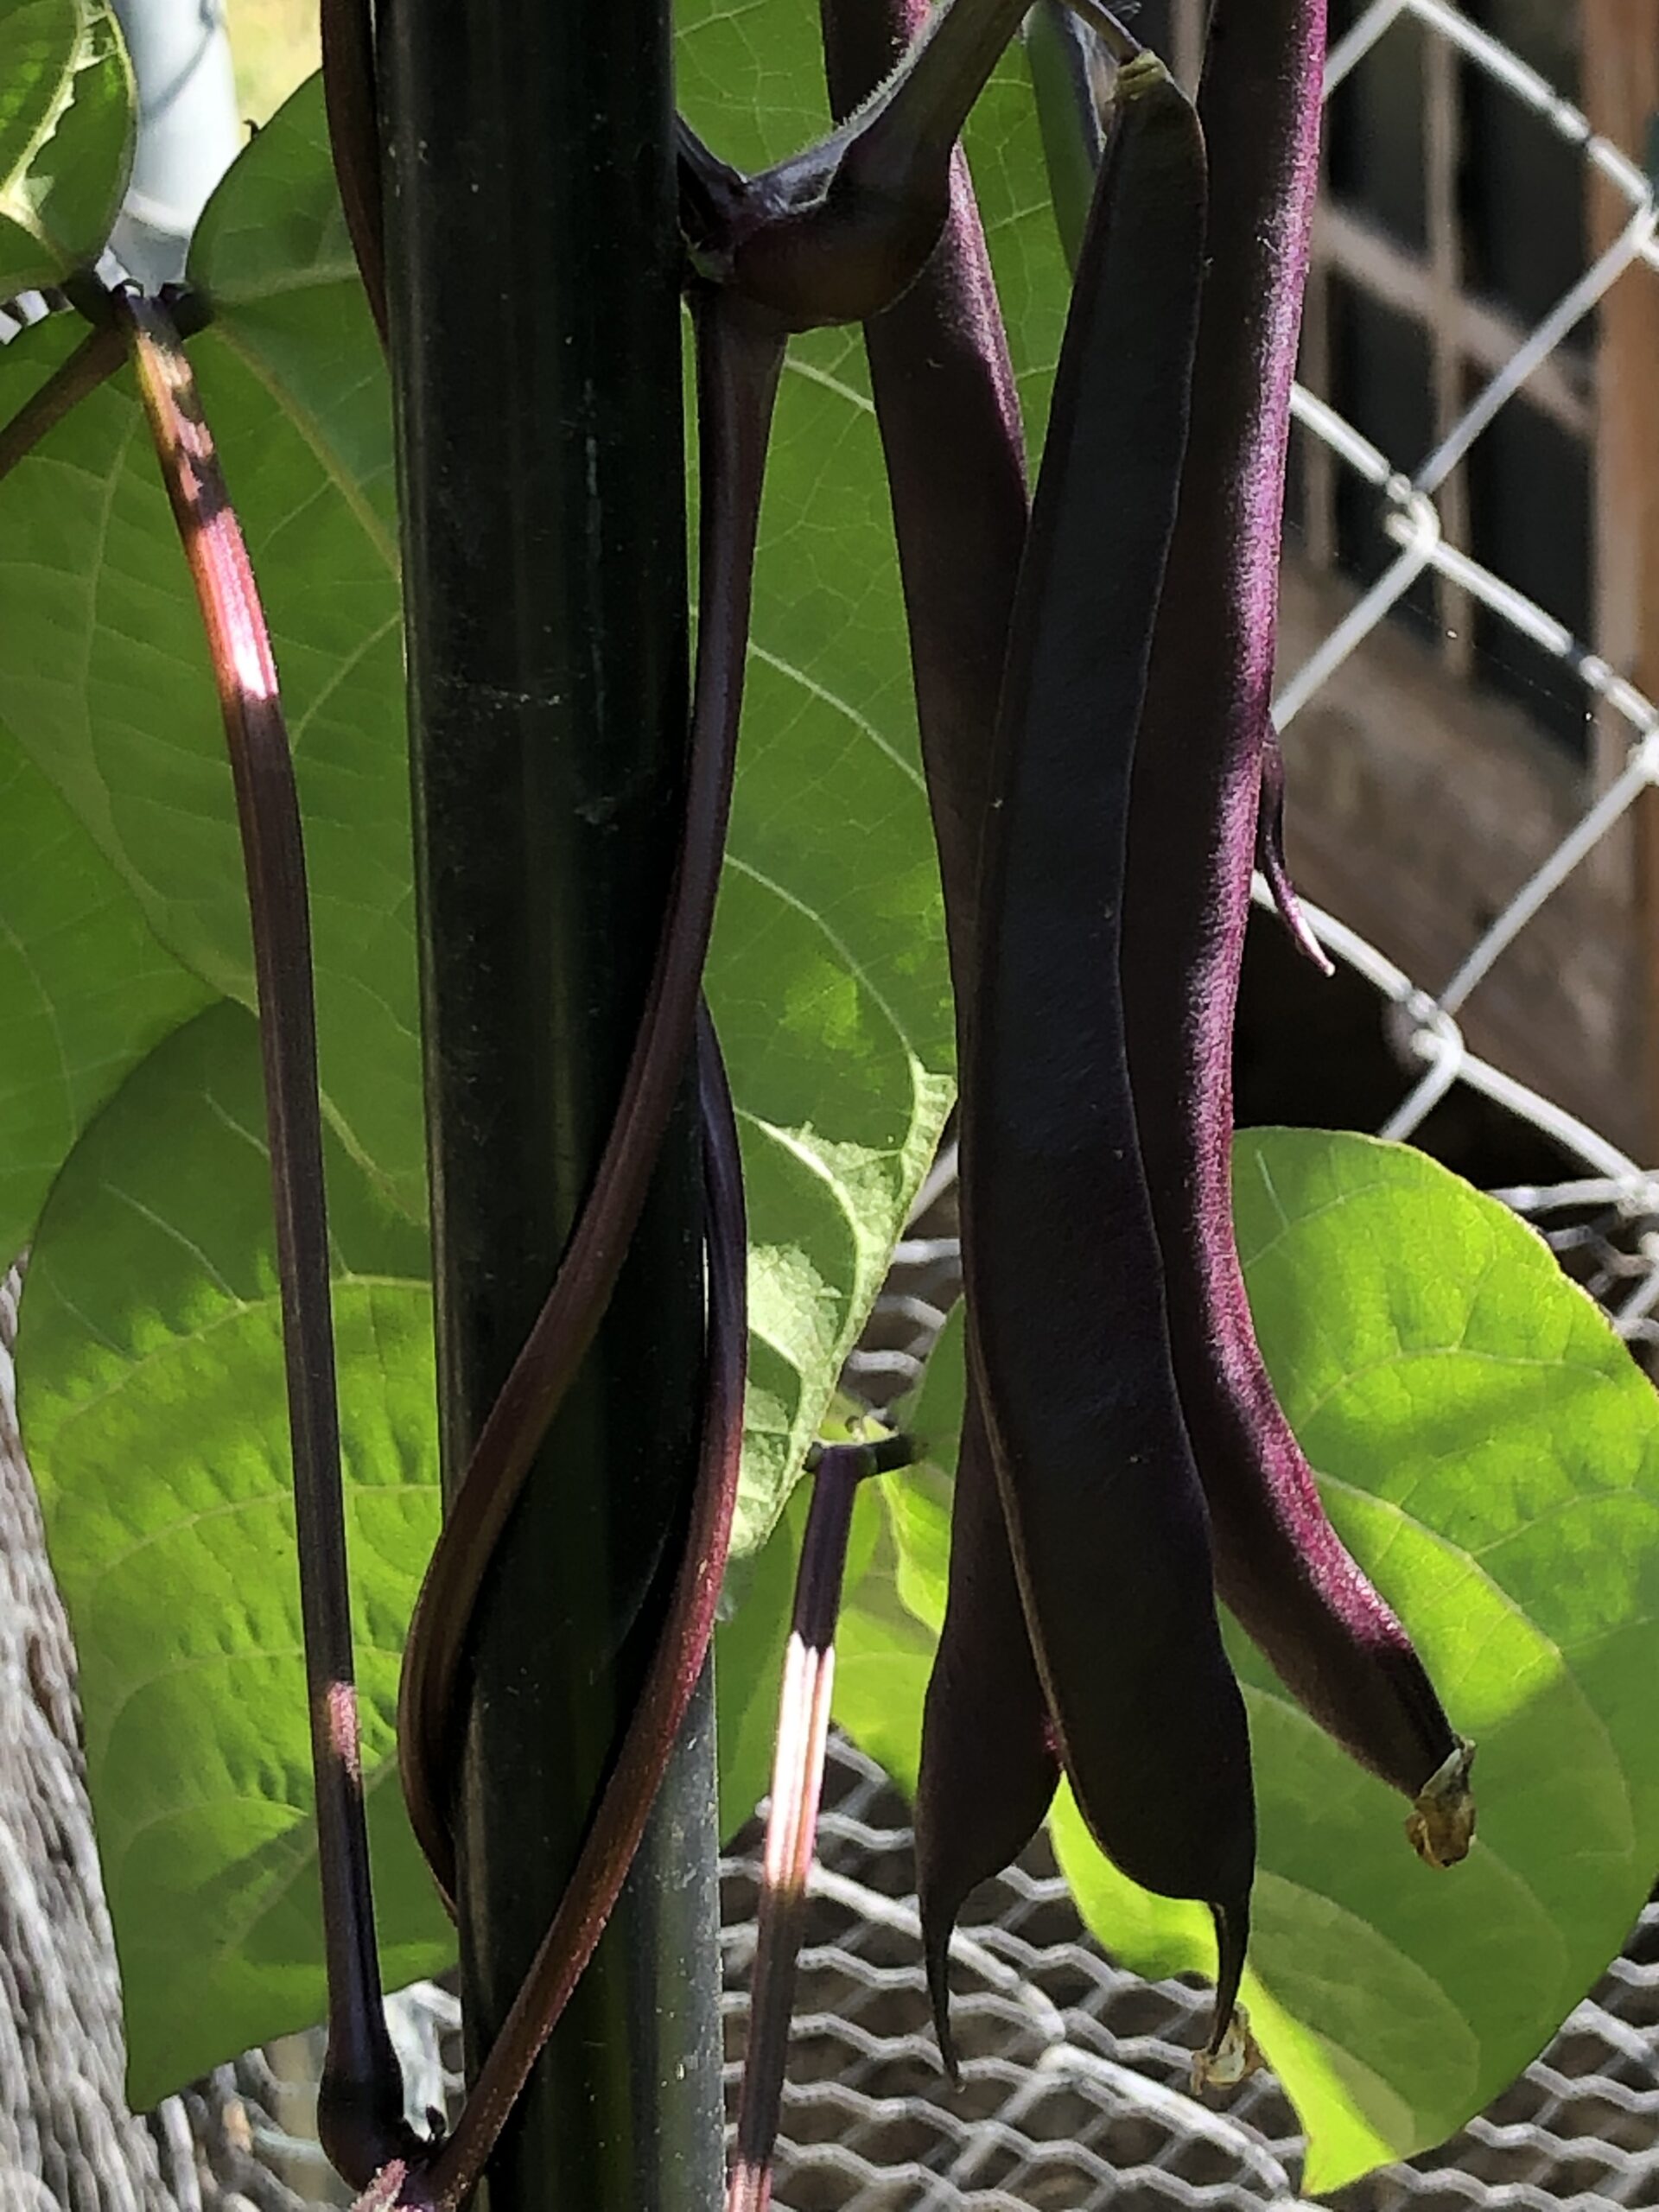
Beans are one of the easiest plants to grow for food. Climbing beans like the beautiful Purple King bean will reward you with long purple pods that are delicious steamed, boiled or added to soups and stews. They are packed full of fibre and Vitamins A, C and a couple of B group vitamins.
Climbing beans, unlike bush variety beans absolutely need a trellis, poles or other structure to grow on as they head towards the sunny sky. I use a cheap metal archway but also tried an old wooden bed frame and fence panels. They don’t need much attention other than good soil to grow in free from weeds.
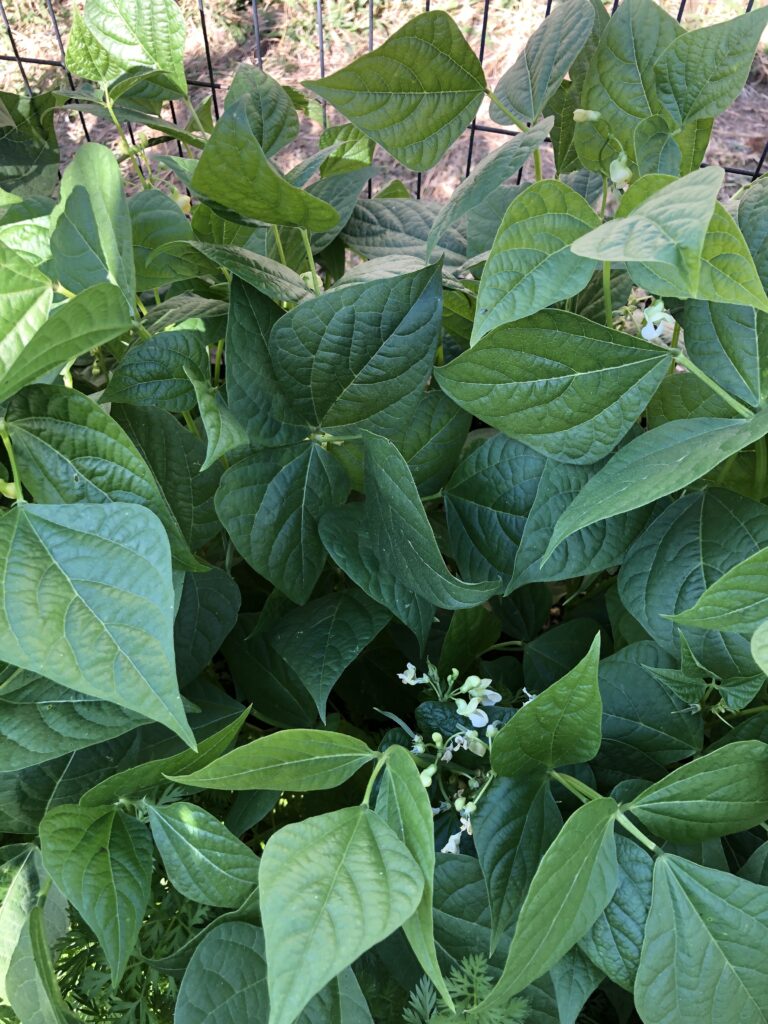
I grow Purple King beans because they give a good crop of larger beans and both the plant leaves and flowers look nice in the garden. They grow up to 2 meters tall.
Best Time or season to plant
Plant Purple king or other climbing beans in Spring or Summer after any frost is gone.
Soil preparation
Dig up the bed where your planting your beans and add a generous amount of compost like mushroom compost. Dig this well in and mix with the existing soil. Stake in your trellis or frame and keep it at least a meter – two metres apart if planting up a large bed.
Water the soil well.
Planting, Care and Pests
Press climbing bean seeds down 1 inch deep about 10-15 cm apart. Keep them around 5 cm out from your growing structure, trellis etc. This helps the plants to easily find their way to grow supported. Water the seeds in well then leave them until after the plants start to emerge from the ground. If you water them too much when first planted the seeds may rot instead of germinating. As a rule, water large seeds like beans once at the initial watering as the seed will soak up a lot of moisture ready to germinate. Smaller seeds like carrot seed or lettuce need to be watered daily and kept moist until they sprout.
Once your beans emerge then giving them water twice a week is all they need, especially in the hottest months.
You can fertilize with a good liquid fertilizer but it’s probably not necessary, though it will add valuable trace elements. Beans draw in nitrogen and put it into the soil which makes them a good companion plant for some other leafy vegetables.
There is several pests that will attack Climbing beans, particularly the leaves. Bugs, beetles, Aphids and Mites are some of the common ones. Most can be controlled through a homemade chilli/garlic spray that kills grubs and will deter other leaf eating insects. Simply boil up a full garlic bulb with some chopped fresh chilli in 1 litre of water.
Allow it to cool then strain and add a quarter cup of dish soap/detergent. Store it in a well labelled plastic bottle away from children. To use add 1 cup of this mixture into a 5 litre spray bottle and add 1-2 litres of water. Generously spray the under side and top of the bean leaf or directly onto any visible bugs.
Leaf curling can be due to under or over watering.
Powdery mildew can be sprayed with milk water solution.
Crop rotation by planting in different beds each season will also help reduce disease and pest buildup.
Harvesting Beans
The purple flowers will appear on the mature bean plants, and beans will be ready to harvest from about 10-13 weeks. Keep regular picking to ensure the plant keeps producing. It’s an annual so once its finished fruiting be sure to leave a dozen bean pods to fully mature and ripen so you have seed for next season.
Storing and cooking Beans.
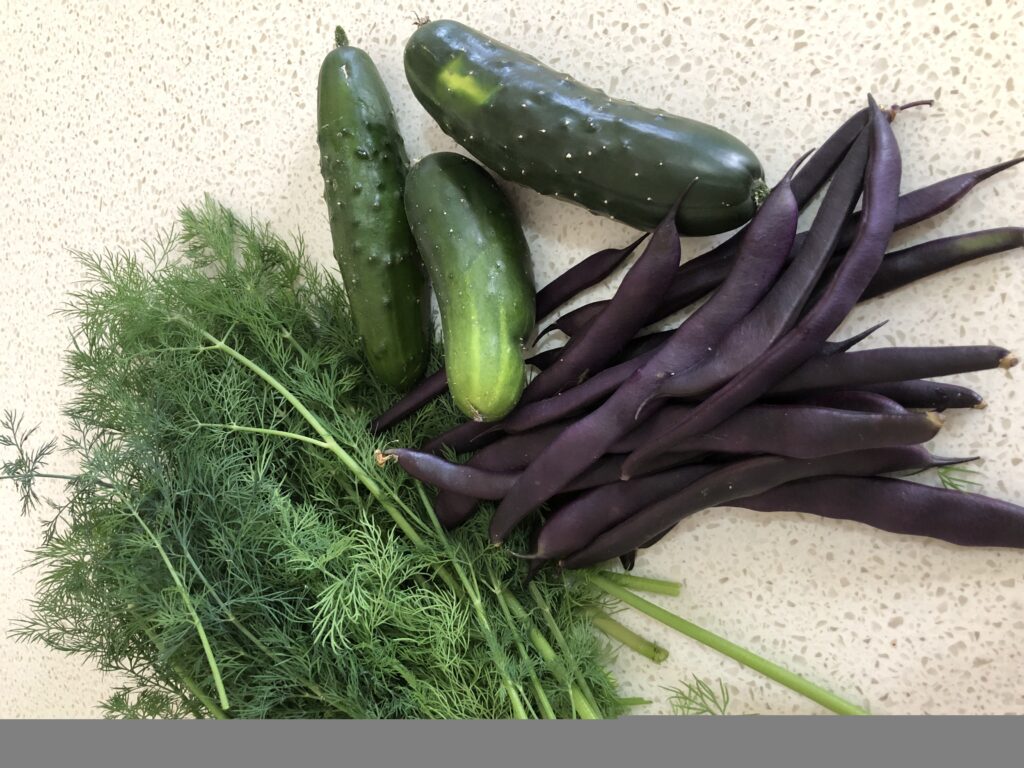
Purple King beans are delicious steamed, gently boiled or even stir fried. My favorite is to steam them and add butter, salt pepper and a squeeze of lemon juice. Another great salad is to steam them, cool under running cold water, cut into chunks then add to cold roast pumpkin, spinach, feta cheese, and toasted pine nuts or cashews. Drizzle some red wine vinegar and a little olive oil over the top.
Store them in your fridge but if you have an abundance of Beans maybe freeze them.
First blanche them in boiling water for 2 minutes then plunge into ice water to stop them cooking. Drain them then package into zip lock bags or vacuum sealed packs and freeze. They should be good for up to 6 months.